Basement Storage Plan: Keep Access and Moisture Visible
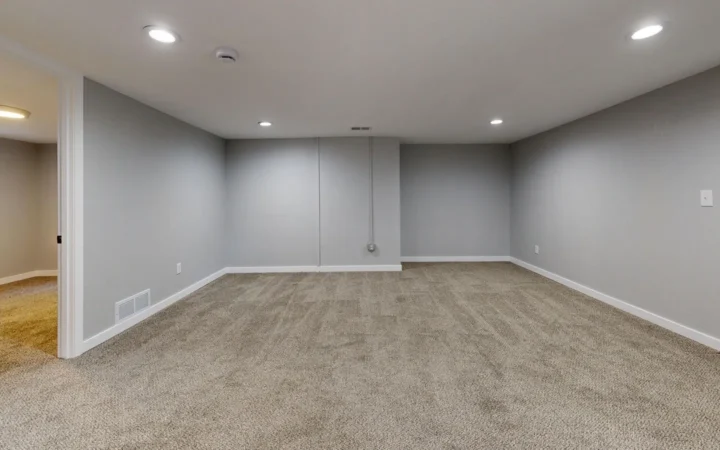
Good basement storage is easy to find, easy to move and easy to inspect behind. A wall of neatly stacked containers may look organized while hiding a damp corner or blocking the route to equipment. Start with the room's access needs before choosing shelves and bins.
This plan is useful for a basement that is safe to enter and suitable for storage. Active water entry, suspected contamination, electrical hazards or structural concerns need appropriate professional attention first.
Mark the places that must remain accessible
Draw a simple floor plan and identify doors, stairs, windows used for emergency escape, utility equipment, shutoffs, drains, sump access and visible trouble spots. Confirm required clearances with the equipment instructions and a qualified professional where needed. Do not invent a universal clearance number for every appliance or situation.
Mark the walking route next. You should be able to reach essential areas without lifting heavy containers or moving a shelving unit. Include room to open doors and access service panels in the way the relevant instructions require.
Sort by consequence, not only category
Three boxes labeled “holiday decorations” may contain very different risks: replaceable plastic ornaments, irreplaceable family photographs and electronics. Separate items by how they would be affected by moisture and how difficult they would be to replace.
- Irreplaceable items: consider a more suitable location for original photographs, documents and heirlooms.
- Frequently used items: place them where retrieval does not disturb other storage.
- Occasional items: group by season or activity and label clearly.
- Uncertain items: decide whether they belong in storage at all before buying another container.
Follow product labels and local guidance for chemicals, fuels, batteries and other items with specific storage requirements. Ordinary household shelving advice is not a substitute for those requirements.
Choose containers after deciding the contents
Measure the actual items and the available shelf space. Pick a container size you can comfortably handle when filled. Large containers can seem efficient until they become too heavy to move for an inspection or when you only need one item from the bottom.
Use labels on the side visible from the aisle. A simple code such as H1 or T2 can link to a longer inventory in your phone. For mixed contents, list the most useful items rather than a vague label like “miscellaneous.”
No container makes a recurring basement water problem harmless. Keep the space's known history in mind and ask a qualified professional about storage suitability when conditions are uncertain.
Leave a way to inspect
Do not build the plan around permanently concealing a wall that has shown moisture. Keep documented inspection points identifiable and reachable. Take a reference photograph before shelving is installed so you know what was visible at the start.
Use your room map to define a short check: look at the same walls and floor areas, note any change and record it. The Basement Playbook moisture-planning tool can help organize observations if you discover a new issue.
Set a practical review trigger
Choose a routine you can actually keep: at a seasonal swap, after a relevant weather event when it is safe, or alongside another home-maintenance task. Check that routes are open, labels still match the contents and containers have not crept into service areas.
Keep a small removal list. If an item has remained unused through several reviews and has no clear future purpose, decide whether to donate, sell or dispose of it appropriately. Storage should support the household, not postpone every decision indefinitely.
A useful finish line
The plan is working when another household member can find an item, put it back and reach essential equipment without your directions. Take one final photograph, save the inventory and resist filling every empty space. Some empty space has a job: access, visibility and room to move.
Find more planning resources in the Basement Playbook moisture and air guides.
Label a sketch by purpose before assigning shelves
| Mark on your sketch | What it represents | What to confirm |
|---|---|---|
| A — access | Stairs, exits and everyday walking route | Keep usable during retrieval, not only with every door shut |
| B — equipment | Service areas and controls | Required access and clearances from the actual instructions |
| C — observation | Wall/floor areas with moisture history | Leave visible and accessible for appropriate observation |
| D — proposed storage | Only space remaining after A, B and C | Product dimensions, supporting structure and rated capacity |
Draw your room’s actual shape on paper and put these letters where they apply; there is no universal arrangement. Try retrieving one awkward item and returning it while another household member uses the normal walking route. If that requires moving a stack into A or blocking B, reduce or relocate the proposed storage. Do not cover C with a cabinet simply to make the drawing tidier.
About the author: Jeremy Jarvis is an independent publisher and author. This guide provides planning information; it does not claim an on-site inspection or product test.

Comments
Post a Comment